How to Check Jewellery Construction Before You Buy
- Trinket File
- Buying
- 20 Jan, 2026
Most of the attention in a jewellery purchase goes to what a piece looks like from arm’s length. That is the part the maker has designed for. The part that decides whether the piece still looks right in five years is construction, and nearly all of it is visible if you turn the piece over and look closely.
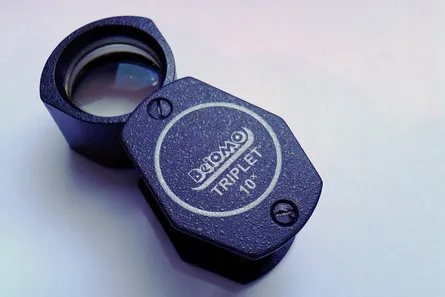
None of this needs special equipment: reading glasses, a phone camera with a macro setting or a cheap jeweller’s loupe will do. It does require you to slow down and to feel slightly impolite about handling the piece.
Start at the back
A maker who cares about finish cares about the surfaces nobody photographs. Turn a ring over and look inside the shank: it should be smooth and evenly polished, not rough, pitted or grey in patches. On a pendant or brooch, uneven patches of unpolished metal, sharp edges where a casting sprue was cut, or dull grey areas usually mean the finishing was rushed.
The inside of a shank also tells you a piece’s history: a visible seam from a resize, a different colour of metal where a plate was added, or a flat spot from years of wear.
Solder joins
Solder is the most common place for a joint to fail or to look wrong.
On gold, a well-executed joint disappears into the surrounding metal. Look for a visible line, a dip, or a patch that is a slightly different colour: gold solders come in different colours and melting points, and a mismatch shows up under close light. On silver, joints can appear as a faint grey line, because silver solder tarnishes at a slightly different rate from the sterling around it.
Also look for solder spread beyond the joint onto the surface, for pitted or spongy metal around the join, and for a joint that has been reheated several times, which makes it brittle. Never test a joint by bending it; you are looking for evidence, not applying force.
Settings
The setting holding a stone is doing structural work, and it is where a great deal of jewellery eventually fails.
Prongs. Check that each prong is a similar thickness and length, that the tips are rounded rather than worn flat, and that they sit evenly over the stone. A prong filed down to clean up a stone is weaker than the original. Avoid pressing hard on any stone; if one moves gently under a fingernail, treat it as loose.
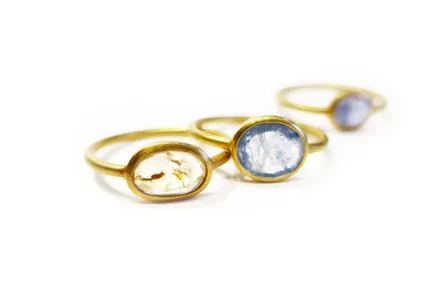
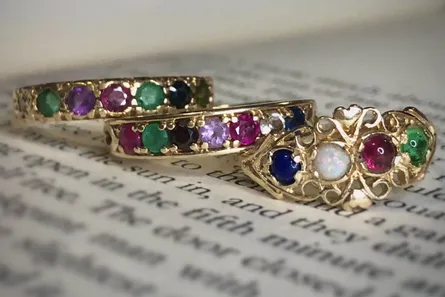
Bezels and rub-over settings. The metal should be pressed evenly over the edge of the stone with no gaps. A bezel protects a stone’s edges, which is an advantage for daily wear, but it hides what is underneath, including chips, so look at the stone through the top under magnification.
Channel settings. The stones should sit level and at a consistent height between two metal rails. Check that the rails are not worn thin and that no stone sits lower than its neighbours. Channel settings are difficult to rebuild, so a worn one is a real consideration.
Pavé and grain settings. These use many small beads of metal pushed over tiny stones. Look for beads that are flattened, missing or sitting at an odd angle, and for any stone out of line.
On a ring set with stones all the way around the band, the setting also determines what a workshop can do later: a full eternity ring usually cannot be resized without rebuilding the setting, which is worth knowing before you buy rather than after.
Clasps, hinges and findings
Clasps are the most-used mechanical part of a piece, and the part most likely to need replacing first.
- Lobster claws should open smoothly and snap closed under light spring tension. Look at the small joint where the lever attaches; that is where they break.
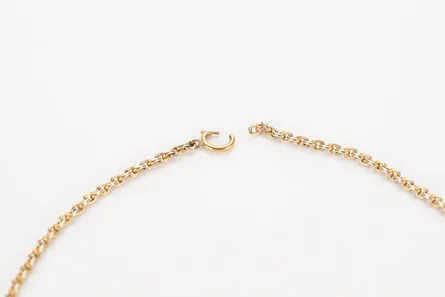
- Spring rings are common on fine chains and weaker than they look. For a chain carrying more than a small charm, a lobster clasp is the better choice.
- Box and tongue clasps on bracelets should engage without coaxing, with a safety catch that works.
- Toggle clasps are secure only while the bar sits across the ring, and they can work loose with movement.
- Magnetic clasps open under a firm pull or a knock. They are a poor choice for anything you would be upset to lose.
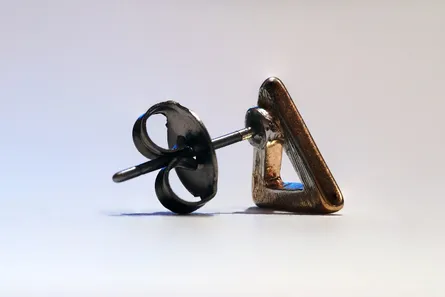
Then check the small parts the clasp connects to. A jump ring that is simply butted closed can pull open; a soldered or fused one is stronger. On bracelets and bangles, work the hinge through its full travel, feel for grinding, and check the pin is not protruding. On brooches, a rollover catch with a safety catch is far more secure than an open C-shaped hook. On earrings, look at where the post joins the earring and whether the backs still grip.
Chains and links
Run a chain through your fingers and look at the individual links. A worn chain often shows elongated links and open gaps where the wire has stretched, and fine chains tend to fail at one weak link rather than all at once. On hollow rope or curb chains, gentle finger pressure will dent the links; that lightness is a trade-off against cost rather than a fault in itself, but it means the chain will not tolerate a heavy pendant or a habit of tugging.
How to check a piece in a shop
Ask to take the piece to a window, away from the warm spotlights that hide scratches and make everything look bright. Use a loupe or your phone’s macro mode on the back of the piece, the ends of the prongs and the joint between the clasp and the chain. Run a fingernail gently along the edges of a setting and around the inside of a ring; snag points catch on knitwear later.
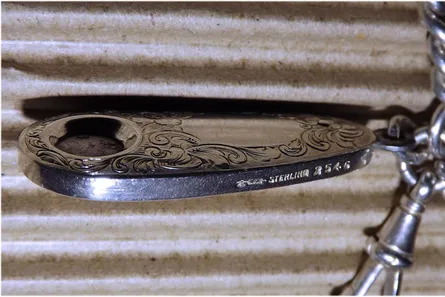
Then find the hallmark or fineness stamp and note or photograph what it says. As we explain in the guide to reading the marks on a piece, a stamp tells you what a piece is declared to be, and where it was marked.
Questions worth asking
- Has this been repaired, resized or re-polished? How many times?
- Is the plating original, and has it been re-plated?
- Can you photograph the hallmark for me, and can the weight in grams be confirmed in writing?
- For an online purchase, ask for close-ups of the reverse, the hallmark and the clasp before you pay.
What you cannot check yourself
Construction is visible; identity and composition largely are not. Whether a metal is what its stamp claims requires an assay office or a jeweller with X-ray fluorescence equipment, and whether a stone is natural, synthetic or a simulant — or has been treated or filled — requires a gemmologist or a laboratory.
That is not a reason to avoid buying. It is a reason to inspect what you can see, ask about the rest, and get a specialist opinion before spending money that would matter if the answer turned out to be disappointing.